
MySQL is probably the most popular database engine and, together with Apache and PHP on Linux, forms what is commonly called a LAMP server.
In this post we will see how to set up a MySQL Server 5.7 database server on Ubuntu 16.04.
Canonical’s official repositories already include this database version, so installing it is really easy.
Installing MySQL Server
Open a command-line console as root, or add sudo at the beginning of this command.
apt-get install -y mysql-server
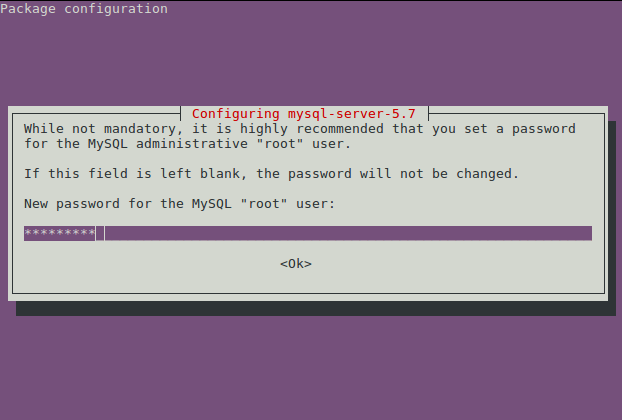
During the installation, you are asked for the password for the database administrator, that is, the root user.
Enter the password and then confirm it again; the database installation will finish.
Connect to MySQL
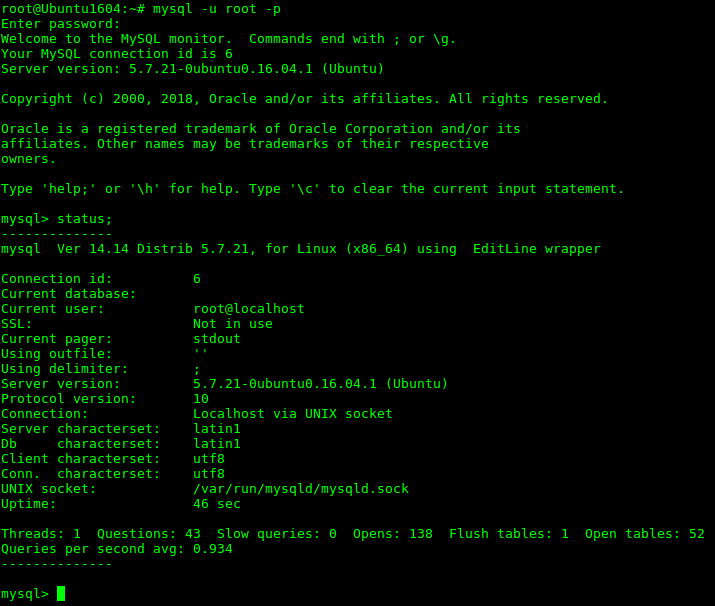
Once it is installed, you can connect to the database as follows:
mysql -u root -p
Starting and stopping the MySQL instance
You can manage the instance with systemctl. Here is a quick review of some of the most common options.
Start MySQL
systemctl start mysql
Stop MySQL
systemctl stop mysql
MySQL status
systemctl status mysql
Start MySQL automatically at system startup
systemctl enable mysql
Prevent MySQL from starting automatically at system startup
systemctl disable mysql